Setting Up Single Sign-On
For org-admins: verify your email domains, connect an OpenID Connect or SAML identity provider, and let your people sign in with it.
How Single Sign-On Works
With single sign-on, people whose email address is on one of your verified domains sign in through your identity provider, which also handles their multi-factor authentication. Someone new gets an account and joins your Organization as a member. Single sign-on never makes anyone an org-admin.
Members who have a password can still sign in with it. Stride has no setting that limits your Organization to single sign-on.
In the Organization console, click Single sign-on to set it up. Only org-admins can open this page.
Verifying a Domain
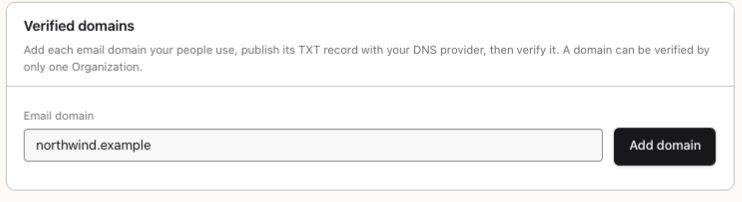
Under Verified domains, enter an Email domain such as your company's and click Add domain. Stride shows a TXT record name, which is _stride-verification. followed by the domain, and a TXT record value, which starts with stride-verification=.
Add that TXT record with your DNS provider, then click Verify. The domain is marked Verified, or Not verified until the record is found. DNS changes can take a while to appear, so try again later if it isn't found yet. Only one Organization can verify a domain.
Keeping a Domain Verified
Keep the TXT record in place. Stride checks it every day, and after 3 checks in a row without it, the domain is no longer verified and single sign-on stops for its addresses. People already in your Organization stay members.
Remove deletes a domain, and its people can no longer use single sign-on.
Connecting an OpenID Connect Provider
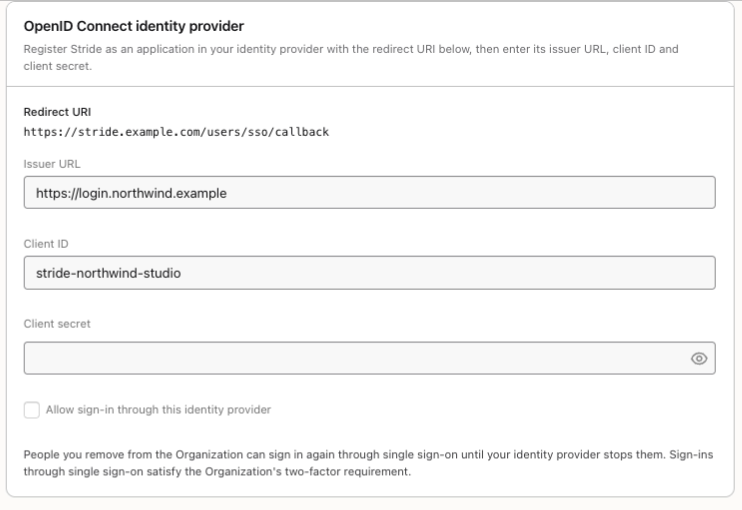
Under OpenID Connect identity provider, copy the Redirect URI into a new application in your identity provider. Then enter the provider's Issuer URL (a public https address), Client ID and Client secret, tick Allow sign-in through this identity provider, and click Save connection.
Once saved, the client secret is never shown again. Leave the field blank to keep it when you change something else.
Connecting a SAML Provider
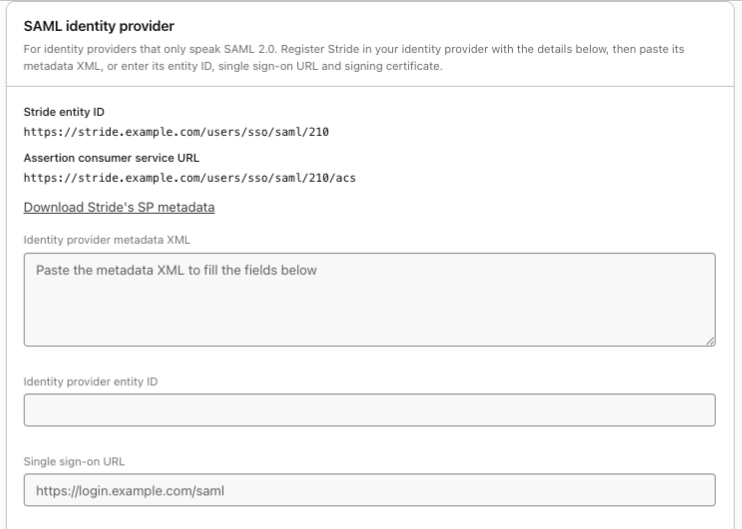
If your identity provider only speaks SAML 2.0, use SAML identity provider instead. Give your provider Stride's Stride entity ID and Assertion consumer service URL, or click Download Stride's SP metadata to give it a metadata file.
Then paste the provider's Identity provider metadata XML, which fills in the rest, or enter its Identity provider entity ID, Single sign-on URL and Signing certificates (PEM). Stride keeps up to two certificates, so you can rotate them. Tick Allow sign-in through this SAML identity provider and click Save SAML connection.
How People Sign In
On the sign-in page, people enter their address in Work email for single sign-on and click Sign in with SSO. Stride sends them to your identity provider and back.
Signing in this way satisfies your Organization's two-factor requirement.
When Someone Leaves
Removing someone from your Organization doesn't stop them signing in again through single sign-on, which would add them back. Remove or disable them in your identity provider too, or let SCIM do it: see Provisioning Users With SCIM.
You're all set!
You've completed all the steps in this guide.