Managing Your Account
Change your name, email and password, see how single sign-on applies to you, and delete your account when you no longer need it.
Opening Settings
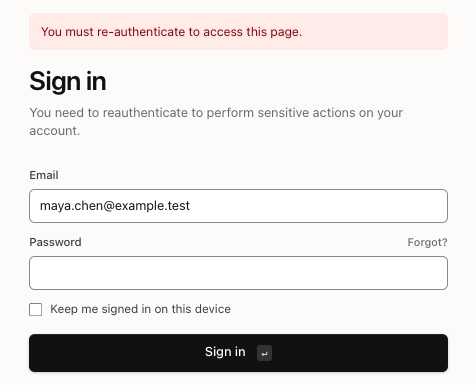
Click the Settings gear at the bottom of the sidebar. Settings holds your email, password and sign-in options, so Stride opens it only if you signed in within the last 10 minutes.
If it has been longer, Stride shows the sign-in page with "You must re-authenticate to access this page." Sign in again, with your two-factor code too if two-factor is on, and Stride takes you to Settings.
The Settings Tabs
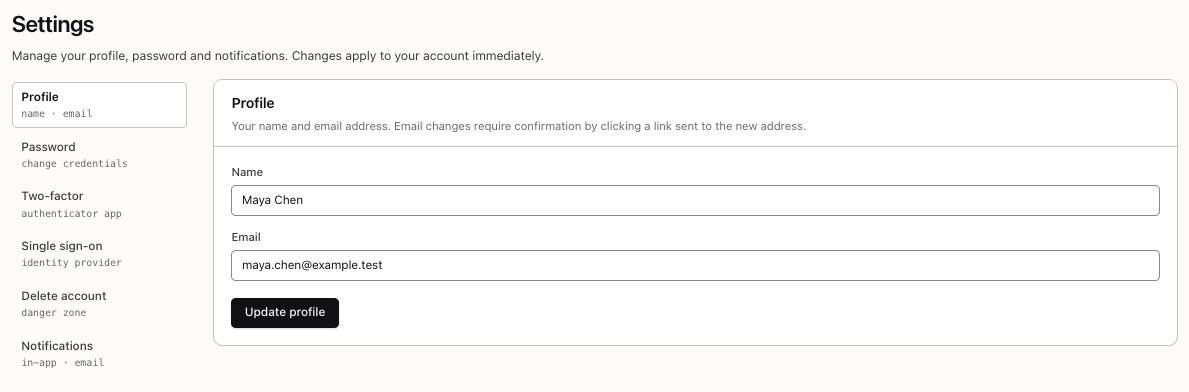
Settings has five tabs:
- Profile: your name and email address.
- Password: change the password you sign in with.
- Two-factor: add a code from an authenticator app to signing in.
- Single sign-on: whether you sign in through your Organization's identity provider.
- Delete account: remove your account for good.
Below the tabs, Notifications opens a separate page where you choose which in-app and email notifications you get. See Notification preferences.
Changes you save apply to your account straight away.
Changing Your Name or Email
On Profile, edit Name or Email and click Update profile.
A new name is saved at once. A new email address is not: Stride sends a link to the new address, and your email changes only when you click that link. Until then you keep signing in with the old address. The link works for 7 days.
Changing Your Password
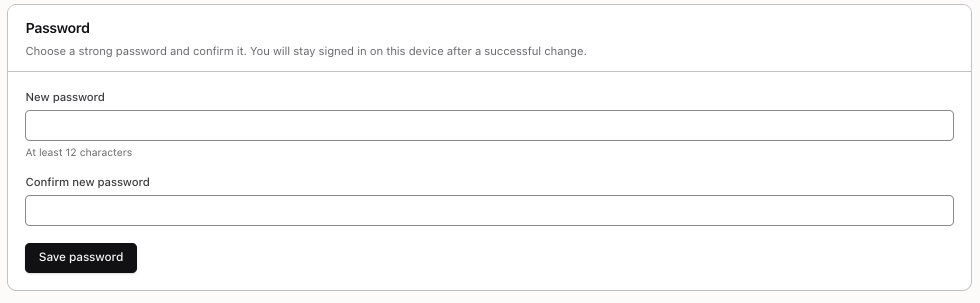
On Password, type your New password, type it again in Confirm new password, and click Save password.
A password must be 12 to 72 characters long, and there are no other rules, so a long passphrase works well. The 72 counts bytes, so accented letters and emoji use up more of it.
Saving a new password signs you out on every other device and browser. This one stays signed in.
Turning On Two-Factor
The Two-factor tab adds a second step to signing in: a 6-digit code from an authenticator app on your phone or computer. Setting Up Two-Factor Authentication walks through turning it on, saving your recovery codes, and what to do if you lose your phone.
Single Sign-On
The Single sign-on tab tells you whether your account signs in through your Organization's identity provider, which then also handles multi-factor authentication.
- If it does, use Sign in with SSO on the sign-in page instead of your password.
- If it does not, your Organization's org-admins set single sign-on up in the org console. Once your email domain is verified there, Sign in with SSO works for you too.
When Stride's plans are switched on, an account that does not belong to an Organization sees a lock on this tab instead.

Before You Can Delete Your Account
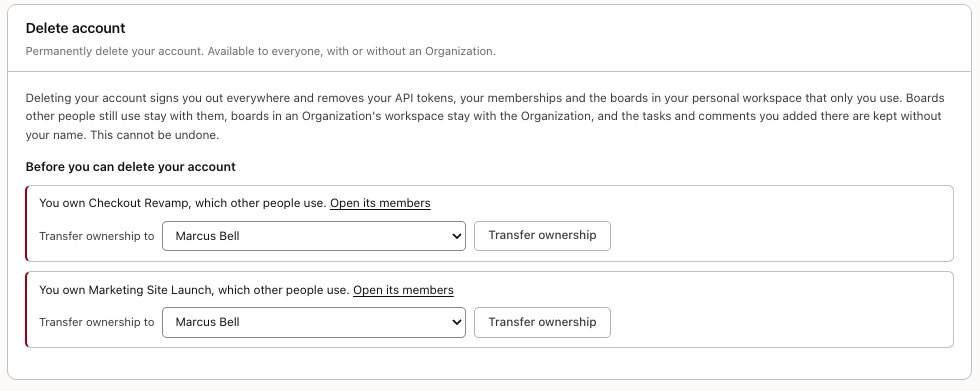
Deleting your account signs you out everywhere and removes your API tokens, your memberships, and the boards in your personal workspace that only you use. Boards other people still use stay with them, boards in an Organization's workspace stay with the Organization, and the tasks and comments you added there are kept without your name.
On Delete account, Stride first lists anything that stops you deleting it:
- A board you own that other people use. Choose one of its members in Transfer ownership to and click Transfer ownership, or click Open its members to change who is on it.
- Being the last org-admin of an Organization that has other members. A Stride admin must appoint another org-admin first.
- Being the last site admin. Make another user a site admin first.
The Delete my account button appears only once that list is empty.
Deleting Your Account
Click Delete my account. In the window that opens, enter your Password, type delete my account exactly as shown, and click Permanently delete my account. The button stays off until the phrase matches. Stride then signs you out, and the account cannot be restored. Cancel closes the window without deleting anything.
After a few wrong passwords, Stride makes you wait a few minutes before trying again.
If you have only ever signed in with single sign-on, your account may have no password. Use Forgot? on the sign-in page to set one first.
You're all set!
You've completed all the steps in this guide.